.svg)
.svg)
.svg)
.svg)
.svg)
.svg)
.svg)
.svg)
.svg)


.svg)
.svg)
.svg)
.svg)
.svg)
.svg)
.svg)
.svg)

.svg)
.svg)
.svg)

.svg)

.svg)
.svg)
.svg)
.svg)
.svg)


.svg)
.svg)
.svg)
.svg)
.svg)
.svg)
.svg)





3 hr
Design a smoother event journey
Your event is built, and registration is open. Now it’s time to prepare your attendees and team, and ensure your check-in experience runs smoothly on event day.
What you'll create
- An event-ready attendee list and seating plan
- A clear arrival and check-in process
- An event-day roles plan
- Two pre-event attendee emails
- A final event-readiness checklist
Features you’ll use
- Event ticketing
- Donor portal
- Event seating
- Wallet passes
- Mobile app
- Email editor
Before you begin
- Confirm that your event campaign is published and registration is open.
- Still creating your event? Start with our nonprofit event planning checklist, then return when registration is open.
- Make sure you have Admin or Campaign Editor access.
- Gather your venue, parking, accessibility, arrival, and schedule details.
- Identify the staff members or volunteers who will help with check-in.
- Download the Givebutter mobile app on each check-in device.
Start here
Get a quick walkthrough of what you’re about to create, then follow the steps below to bring it to life in Givebutter


Visit our help center or contact us.
Set up a smooth check-in
Start with the experience attendees will have when they arrive. Review your attendee list and make sure each ticket is connected to the right guest, especially for group and sponsor purchases.
If your event uses assigned seating, review your event seating and confirm that:
- Every guest who needs a seat has one.
- Groups and sponsor tables are seated appropriately.
- Table names and essential guest needs are easy for staff to find.
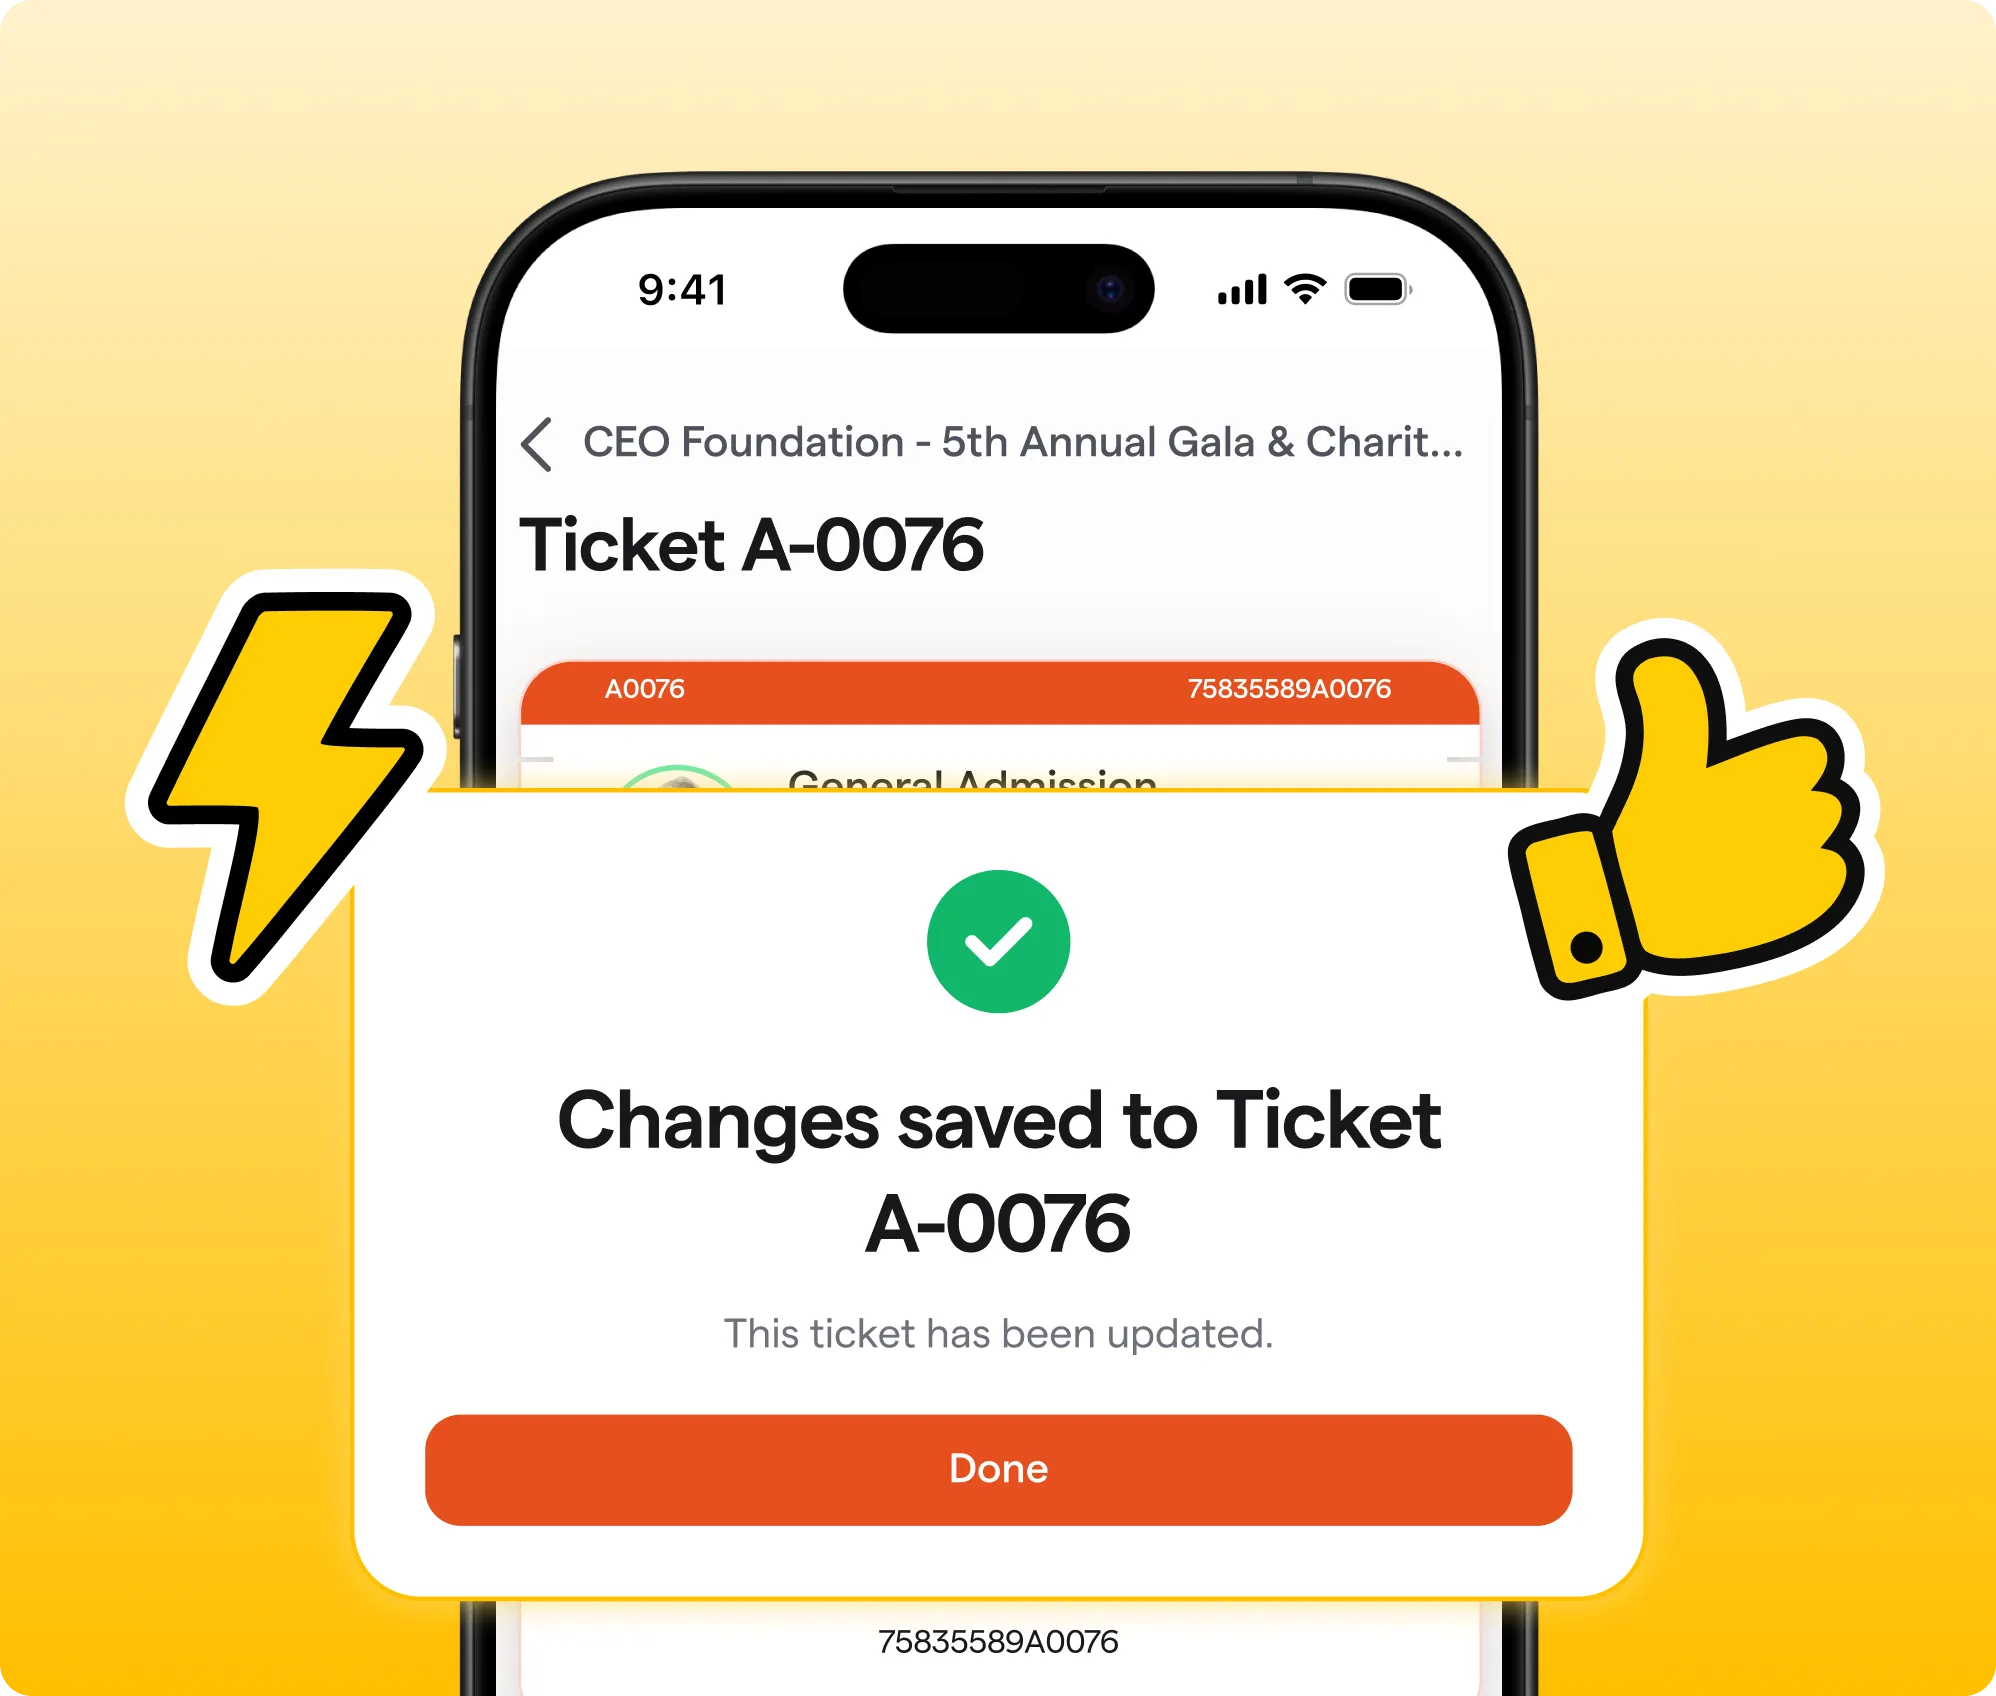
Next, decide how attendees will present their tickets and how your team will check them in. Guests can access their tickets through the donor portal or save them as digital wallet passes. At the door, your team can scan the ticket’s QR code or search for the ticket holder by name or email.
Get your event team ready
Give every staff member or volunteer one clear responsibility:
- Greeter: Welcomes attendees and directs the line
- Check-in team: Scans tickets and searches for guests
- Seating guide: Directs attendees to their table or section
- Troubleshooter: Handles ticket changes, walk-up purchases, and other exceptions
Make sure everyone knows what information is available during check-in, including seating assignments, bidder numbers, and paddle numbers.
Then, practice how your team will respond when a guest can’t find their ticket, someone arrives without their group, several attendees reach the door at once, or a ticket needs to be purchased or reassigned.
Keep the plan simple enough to follow during a busy arrival period. Each person should know their primary responsibility and where to send a guest when an issue falls outside it.
Prepare attendees for event day
Custom step subhead
Use Givebutter’s email editor to create and send two messages to your attendees:
- Logistics email: Send this a few days before the event with the date, start time, venue address, parking, transportation, accessibility information, dress code, and anything guests should bring. Explain where they can find their tickets and what check-in will look like.
- Final reminder: Send this the day before with the details attendees may need to find quickly: time, location, ticket instructions, and a contact for urgent questions.
Point attendees to the donor portal as their home base. From there, they can access their tickets, update attendee information or meal preferences, and reassign a ticket without contacting your team.
Keep both emails easy to scan on a phone, and place the most important arrival details near the top.
Test the full attendee journey
Experience the process exactly as an attendee and volunteer will.
Open the reminder email on your phone, follow the instructions to access a ticket or save it as a digital wallet pass, and scan it with the mobile app. Confirm that the correct attendee information and seating assignment appear. If anything feels confusing or takes too many steps, fix it before event day.
Then, confirm that:
- Group and sponsor tickets are assigned, and no tickets are missing a name.
- Meal preferences and essential guest needs have been reviewed.
- Seating assignments are complete.
- Staff and volunteers know their roles.
- Check-in devices have the mobile app, account access, and enough battery.
- Both attendee emails are scheduled.
- Your team has a plan for walk-ups and ticket issues.
- A backup attendee list is available.
Your goal isn’t to anticipate every possible problem. It’s to give your team a shared process for responding when something unexpected happens.
Take it further
Once the essentials are in place, choose the fundraising tools that complement your event:
- Use live display to show fundraising progress, supporter activity, and giving opportunities on a screen.
- Display a scan-to-donate QR code or text-to-donate keyword so attendees can give from anywhere in the room.
- Use Tap to Pay to accept walk-up donations and in-person payments without additional hardware.
- Add a paddle raise to create a focused live-giving moment.
- Run an auction to encourage participation throughout the event.
Choose one primary giving experience and make the instructions easy to see and hear. These tools aren’t required, but the right addition can create more opportunities for attendees to participate and give.
After the event wraps, keep the momentum going:
- Get your post-event comms ready. Send thank-you messages within 24–48 hours while the experience is still fresh—personalize where you can.
- Connect Givebutter to an AI tool to dig into your event data. Ask about total raised, top donors, auction activity, and how this event compares to past ones. You can learn more in Wildcard: Bring your nonprofit’s idea to life →
.webp)


.svg)
.svg)